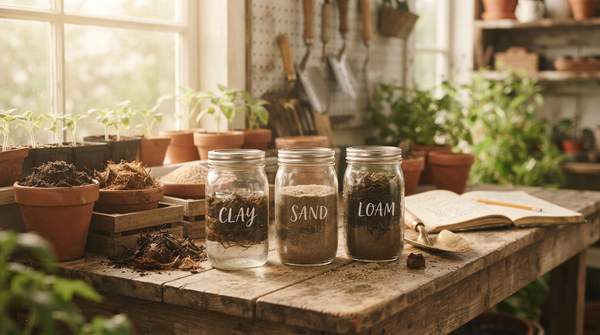
You can identify your garden's soil type in an afternoon with nothing more than a jar, some water, and a soil sample—and that single piece of information tells you which organic amendments will actually help your plants. Clay, sandy, and loam soils behave very differently in the ground, and the fix for one can be useless, or even counterproductive, for another. Here is how to read your soil and what to add based on what you find.
Understanding Your Garden's Soil: Why It Matters
Soil type is the foundation of plant health because the size of the particles in your soil determines how it holds water, drains, and supplies nutrients. The Royal Horticultural Society defines the categories by particle size: clay particles are smaller than 0.002mm, silt runs from 0.002 to 0.05mm, and sand from 0.05 to 2mm. Because tiny clay particles have enormous surface area for their volume, even a modest proportion of clay dominates how the whole soil behaves—the RHS notes clay soils have over 25 percent clay.
Those particle sizes translate directly into gardening outcomes. The RHS describes clay soils as heavy, high in nutrients, wet and cold in winter, and baked dry in summer. Sandy soils are light, dry, warm, low in nutrients, and often acidic. Silt soils are fertile and moisture-retentive but compact easily. Loams—mixtures of clay, sand, and silt—avoid the extremes of each type, which is why they are the goal most gardeners work toward.
The Jar Test: Identify Your Soil Type Step-by-Step
The jar test works on a simple physical principle: soil particles settle out of water in order of size, with the largest sinking fastest. Because sand particles are the largest of the three, they settle first; silt follows; and the fine clay particles, held longest in suspension, settle last over a day or more. The distinct layers that form let you estimate the proportion of each particle size in your sample.
- Collect a representative sample of soil from the top several inches of your bed, picking out stones and debris (anything over 2mm, by the RHS definition).
- Fill a clear jar roughly one-third with the soil, add water nearly to the top, and shake thoroughly until the soil is fully suspended.
- Set the jar down and leave it undisturbed. Sand will settle within minutes to an hour; silt will take several hours; clay may take a day or longer to clear.
- Once the water has cleared, measure the thickness of each layer and the total soil depth, then calculate each layer's percentage of the total.
Interpreting the result is a matter of proportions. A sample that is dominated by the bottom sand layer indicates sandy soil; a thick top clay layer points to clay; roughly balanced layers suggest a loam. This is a home approximation rather than a laboratory analysis, but it is enough to guide your amendment choices.