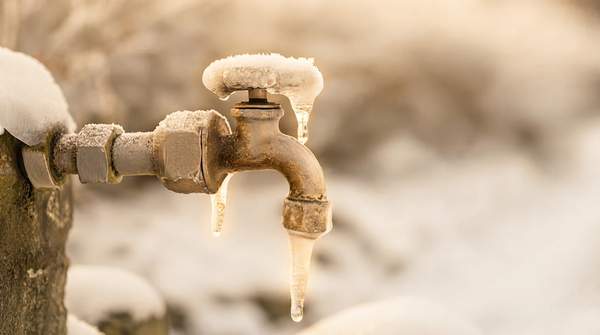
The single most important step in winterizing an outdoor faucet is knowing whether your home has a dedicated interior shutoff valve for that outdoor line. If it does, you can shut off the water supply and drain the pipe, which removes the water that would otherwise freeze and expand. If it does not, your protection depends on insulation alone. Either way, the process starts with the same universal move: disconnect every hose and attachment before freezing weather arrives.
Why Winterize Your Outdoor Plumbing?
Water left inside an outdoor faucet, hose, or supply pipe expands as it freezes, and that expansion can crack fittings, split pipes, and send water into your home once the thaw arrives. Drip Depot's step-by-step guide warns that a frozen hose bib can lead to costly repairs and water damage to other parts of the property, and notes that the small amount of time winterizing takes is worth the investment. The risk is not limited to the faucet itself.
Roto-Rooter's winter maintenance checklist identifies exposed pipes, air leaks, and unheated spaces as the most common risk areas for frozen or burst pipes, so a complete plan looks past the spigot to the rest of the plumbing. The good news is that prevention is largely a matter of sequence: remove attachments, cut the water supply where you can, drain what remains, and insulate what you cannot.